What is contact verification?
Contact verification is the process of identifying return callers based on their call history and details. It also includes validating contact information uploaded through the contact import process. This helps your receptionists quickly confirm who they are speaking with, streamlining interactions and reducing repetitive questions.
By verifying contacts, your receptionists can deliver a more personalized experience, addressing callers by name and having their information ready during future interactions.
Key features of contact verification:
- Automatically identifies returning callers.
- Reduces repetitive data collection.
- Enables personalized interactions by addressing callers by name.
- Saves time for receptionists and callers alike. This means money savings for you!
How to verify a contact:
You can verify a contact in several ways:
1. Automatic verification
- Contacts are verified automatically after three consistent phone interactions with your receptionist (matching name and phone number provided).
2. Import customer list
Import contacts into the system in bulk by uploading a CSV file:
- Go to Contacts in your app.
- Click the + icon and select Import Contacts.
- Find your CSV File on your device and select Upload.
- That’s it! You should see your uploaded contacts on the list.
- To export your existing contacts, click Options > Export Customers.
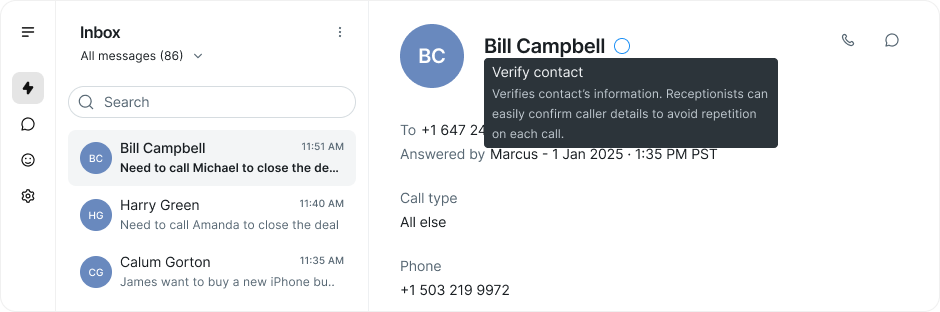
3. Verify from desktop/web app
- Locate the caller in your app’s Inbox.
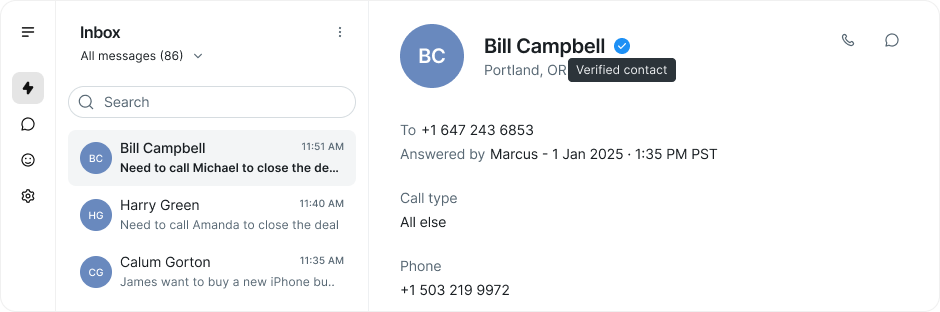
- Click the white tick next to their name.
- The tick will turn blue, confirming the contact is verified.
Before verification
After verification
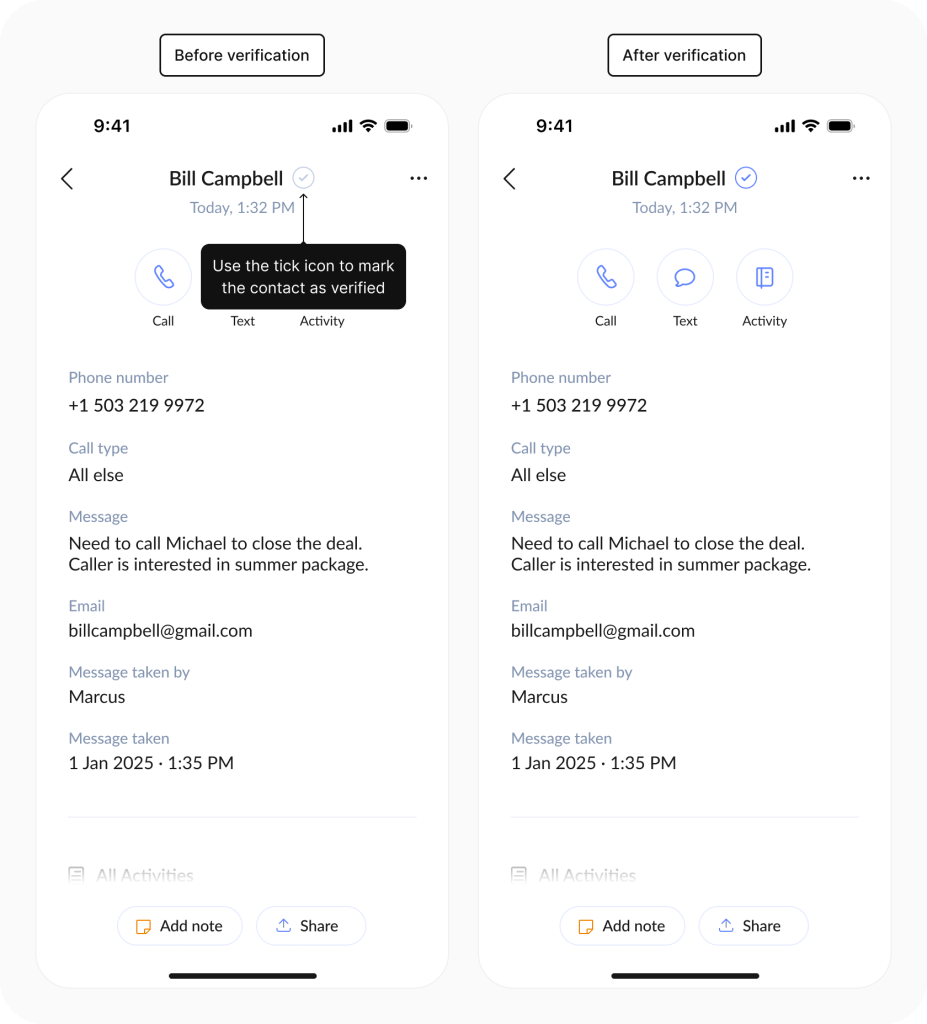
4. Verify from mobile app
- Open the Inbox or Contacts section in the mobile app.
- Locate the caller and tap the tick icon to verify.
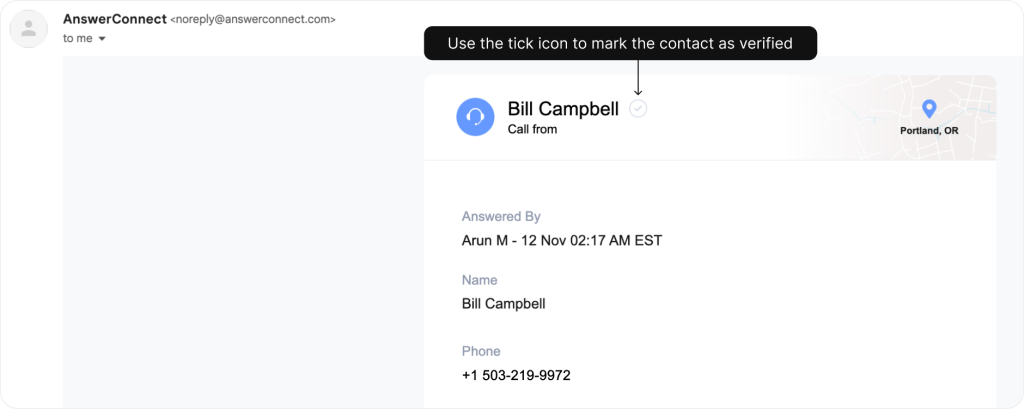
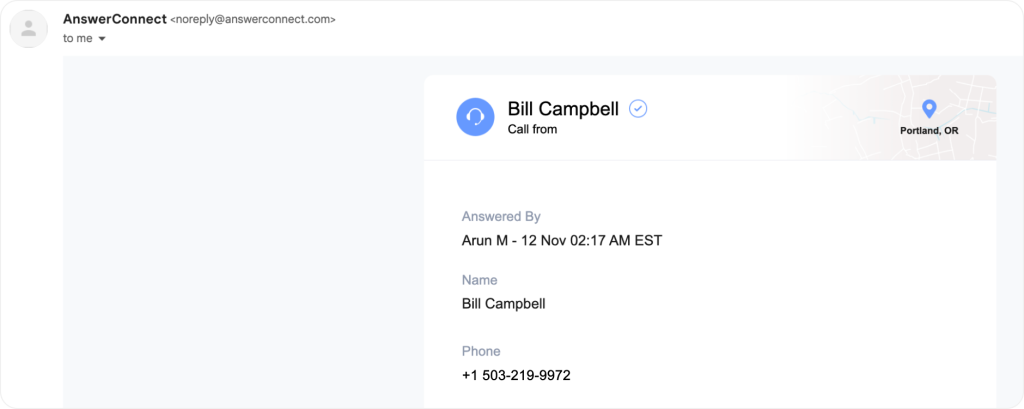
5. Email message verification
- In the HTML-enabled email summarising a call, click the checkmark icon next to the contact name. This redirects you to the desktop/web app, where the contact is verified.
Before verification
After verification
Removing contact verification
If you need to remove verification for a contact:
- Click the blue tick next to their name in the Inbox or Contacts section of your app.
- The tick will turn white, indicating the contact is no longer verified.
Why verify contacts?
- Save money: By reducing the time your receptionists spend on repetitive tasks, contact verification helps streamline operations and saves you money. Verified calls are faster, so your receptionist can handle more calls efficiently.
- Improve efficiency: With verified contacts, your receptionists can focus on resolving customer issues instead of wasting time gathering contact information, improving overall productivity.
- Enhance customer experience: Offering a personalized, VIP service and addressing callers by name creates a smoother and more professional interaction, which leads to higher customer satisfaction.